Greenlet provides options to create an unlimited number of headers and footers. This is a rare feature we see in WordPress themes, even in Premium versions.
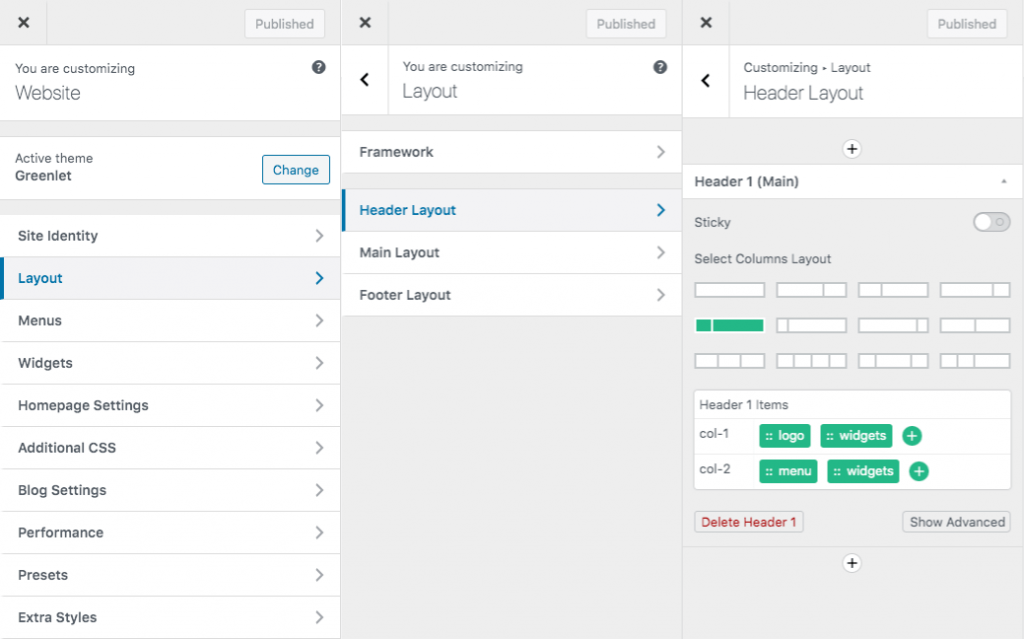
A fresh Greenlet theme installation enables one header by default. This default header contains 3-9 columns arrangement out of which the first 3 columns section contains the logo and second 9 columns section contains the first available menu.
Add extra Header
To edit a header or add extra headers:
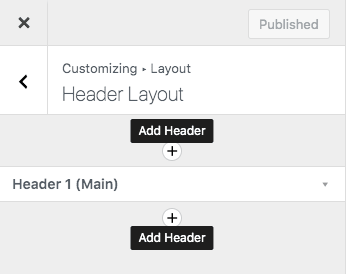
- Navigate to
Appearance > Customize > Layouts > Header Layout
( or Footer Layout ) (Note: Clicking on Footer Layout will disable infinite scrolling temporarily if infinite scrolling is enabled via Blog settings) - In the Header Layout section, you can find the default header. You can also find 2
+buttons, one placed above Header 1 and another – below.
Clicking on either of these buttons will add an additional header above or below the default header accordingly.

Additional headers will be empty by default. Once a header is created we can choose the layout for the added header by selecting the column layout from the available options.
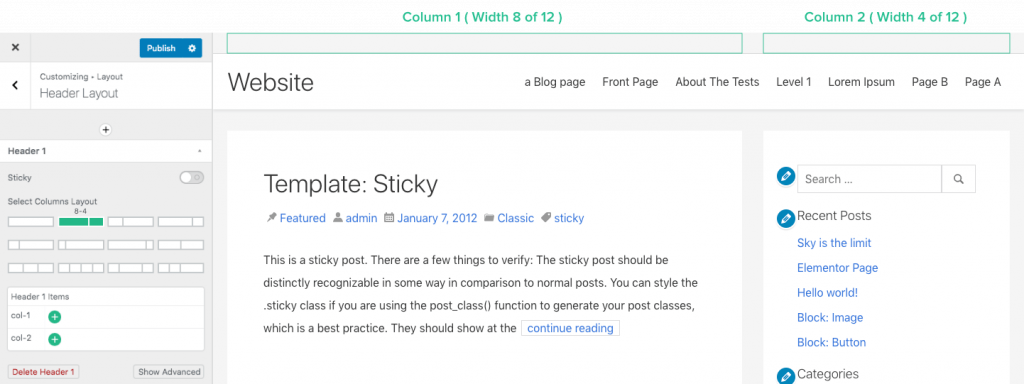
Default columns arrangements are: 2-10, 3-9, 4-8, 4-4-4, etc. If the column arrangement you are looking for is not available, you can also enter the column layout manually in the advanced section in the following format.{columns}-{columns}
Example: 5-7, 2-2-2-2-2-2. (Integers less than 12, separated by a hyphen, the sum of integers to be 12 to have proper 12 column layout.
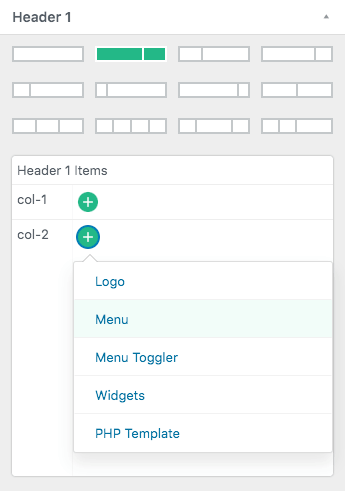
Once the column layout is selected, the column content section will provide an option to add content to the column according to the layout.
By default Greenlet provides the following contents for Header and Footer sections:
- Logo
- Menu
- Menu toggler
- Widgets
- PHP Templates
- Cart button (If WooCommerce is activated)
Click the + button in the respective column and select the content.
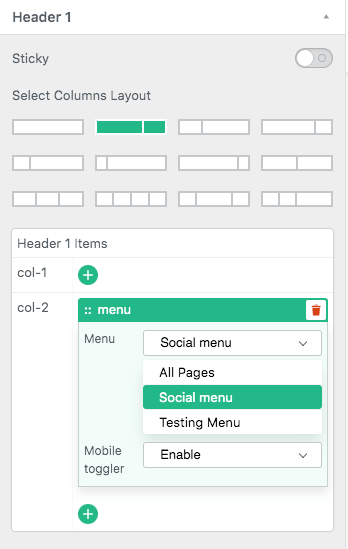
If the content has extra settings, it can be accessed by clicking the particular content item. Eg: Click Menu and it will enable you to select a menu item to show.
Installing the Greenlet booster plugin will also provide the following options (coming soon):
- Social buttons
- HTML
- And many more
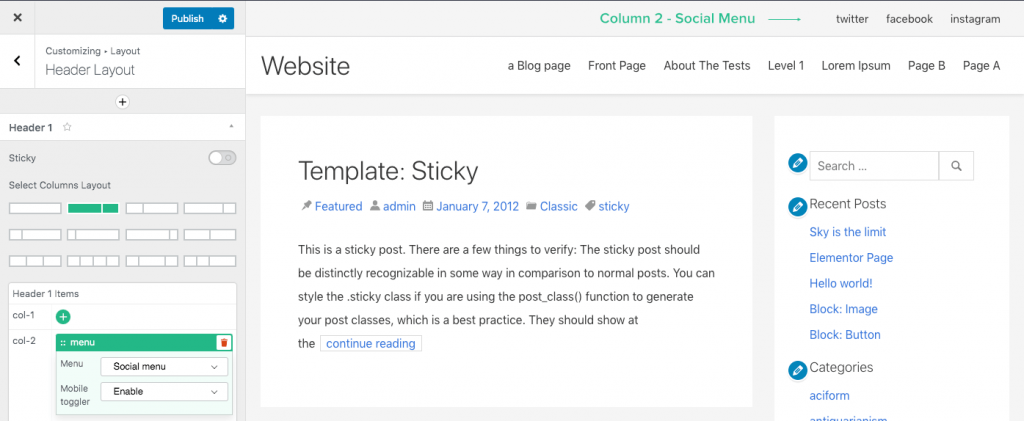
Adding PHP templates
Create PHP files under templates/header or templates/footer in your child theme. This will list the files under Template when you add PHP Template to a header or a footer. Selecting a file from the dropdown will update the preview with the selected template.
Click on an item in the content section, this will show a delete button on the right side of the content. Clicking the delete button will remove that item from the respective column.
A header or footer can be made Primary or Main by clicking the star icon on the top of the row. The primary header will have a <header> HTML tag. Non-primary header will have <section> tag. The primary footer will have a <footer> HTML tag. Non-primary footer will have <section> tag.
A header can also be made vertical by selecting the Right or Left option under the Vertical select option. This will place the header or footer on the respective side of the page.
A header can be removed by clicking the Delete Header {n} button at the bottom left side of a header row.