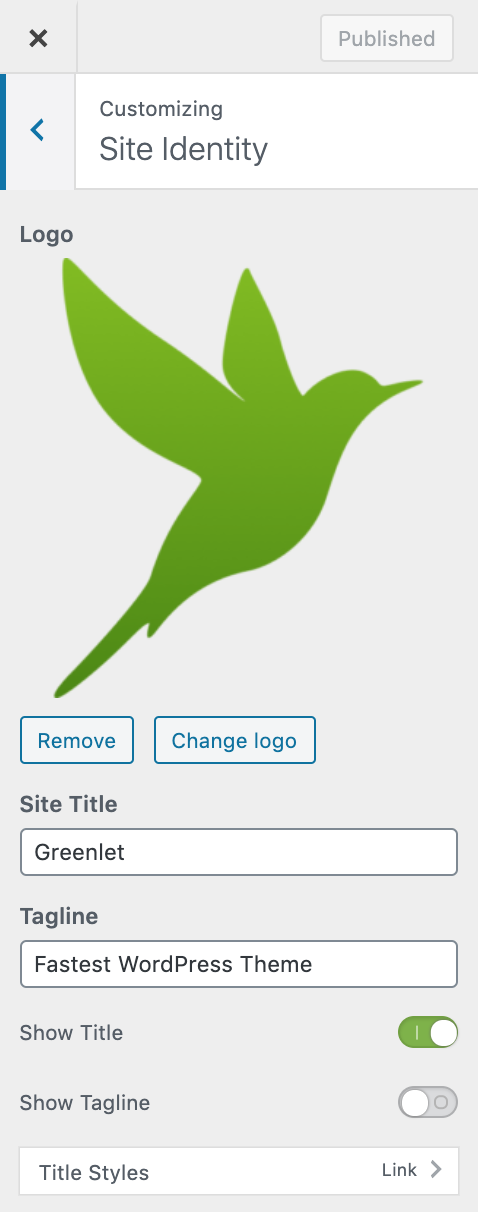
Add Logo
To add Logo,
Navigate to Customize > Site Identity.
Click Add Logo to open the Media Manager.
Upload a new image, or Select an existing image.
Click Set as logo and Finally hit Publish.
Add Site Title
To add Site Title,
Navigate to Customize > Site Identity as above.
Enter the Title in Site Title section.
Make sure the Show Title toggle button is turned on (green).
Once you are ready click Publish.
Add Site Tagline
To add Site Tagline,
Navigate to Customize > Site Identity as above.
Enter the Tagline (sub title) in Tagline section.
Make sure the Show Tagline toggle button is turned on (green).
Once you are ready click Publish.
Show only the Logo
You can show only the Logo to the user by disabling (grey) the Show Title and Show Tagline toggle buttons.
Show only Logo and Tagline
You can also only show Logo and tagline and hide the Site title by disabling (grey) the Show Title toggle button.
Show only Logo and Title
In fact, you can also show only Logo and Title and hide Tagline by disabling the Show Tagline toggle button. If your logo already contains the Site title, this option may not be desired. But If your logo only contains the logo and need to enable the Title as well, this is the way to go.
Show only Title and Tagline
Finally, you can also show only Title and tagline by enabling (green) both Show Title and Show Tagline toggle buttons and removing (or not uploading) the logo image.
Pro tip: Use SVG images to for your logo for highest image clarity and resolution. Safe SVG by Daryll Doyle allows you to upload SVG images to your WordPress media library besides jpg, png and gif formats.